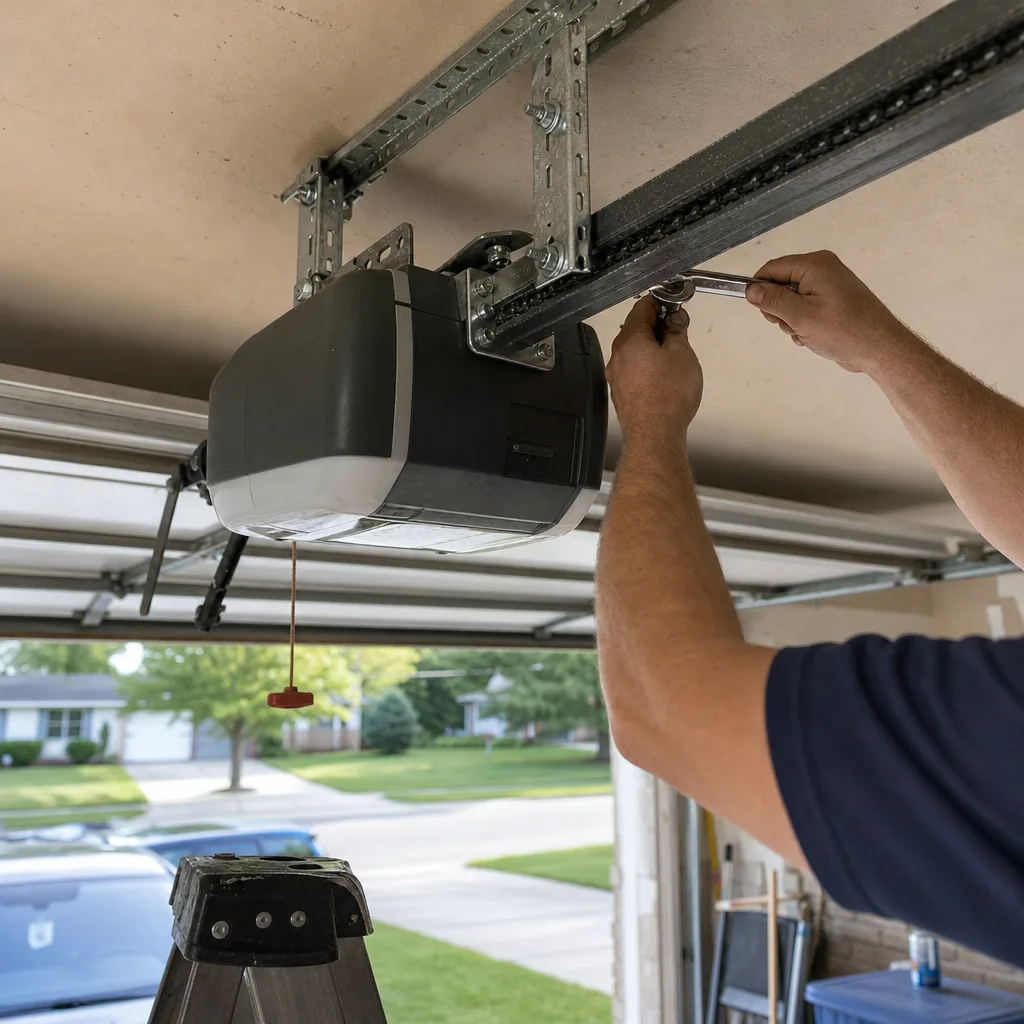
Last updated November 20, 2026
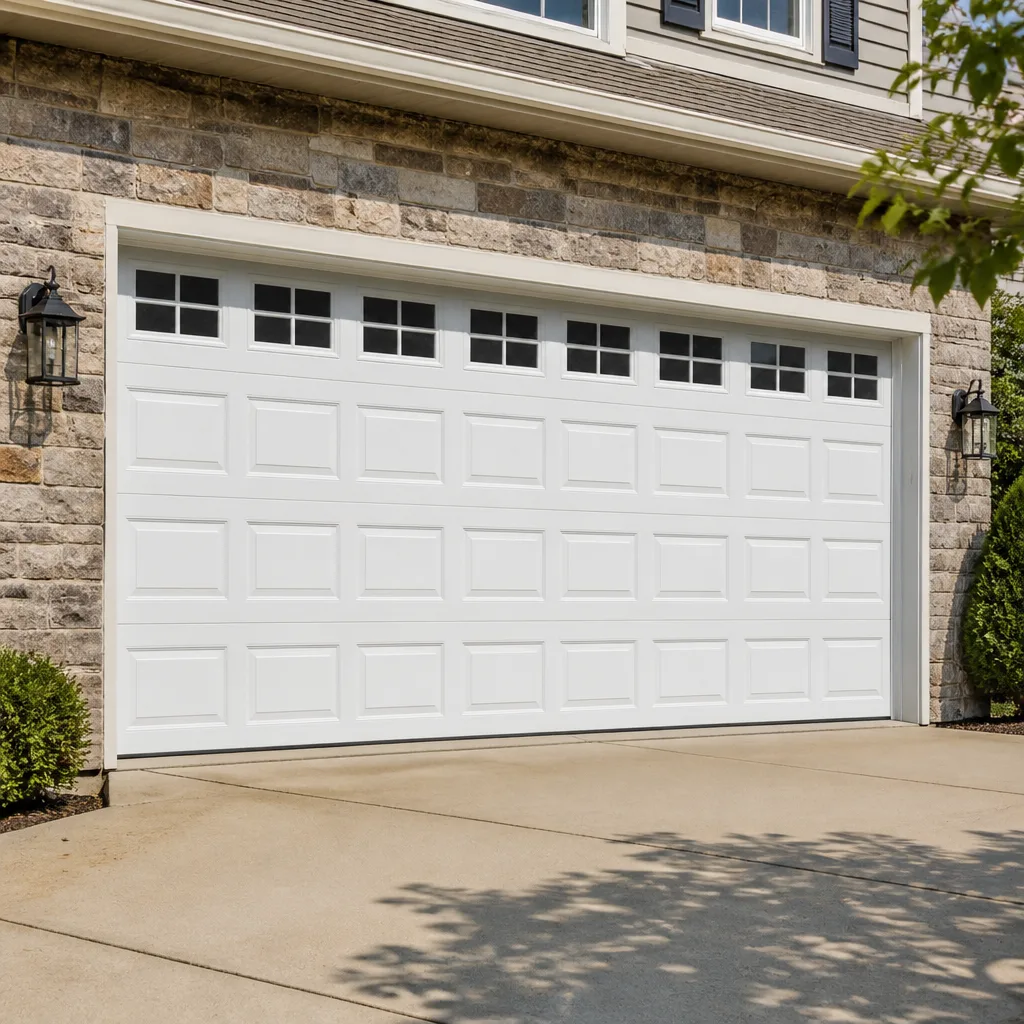 Raised-panel steel
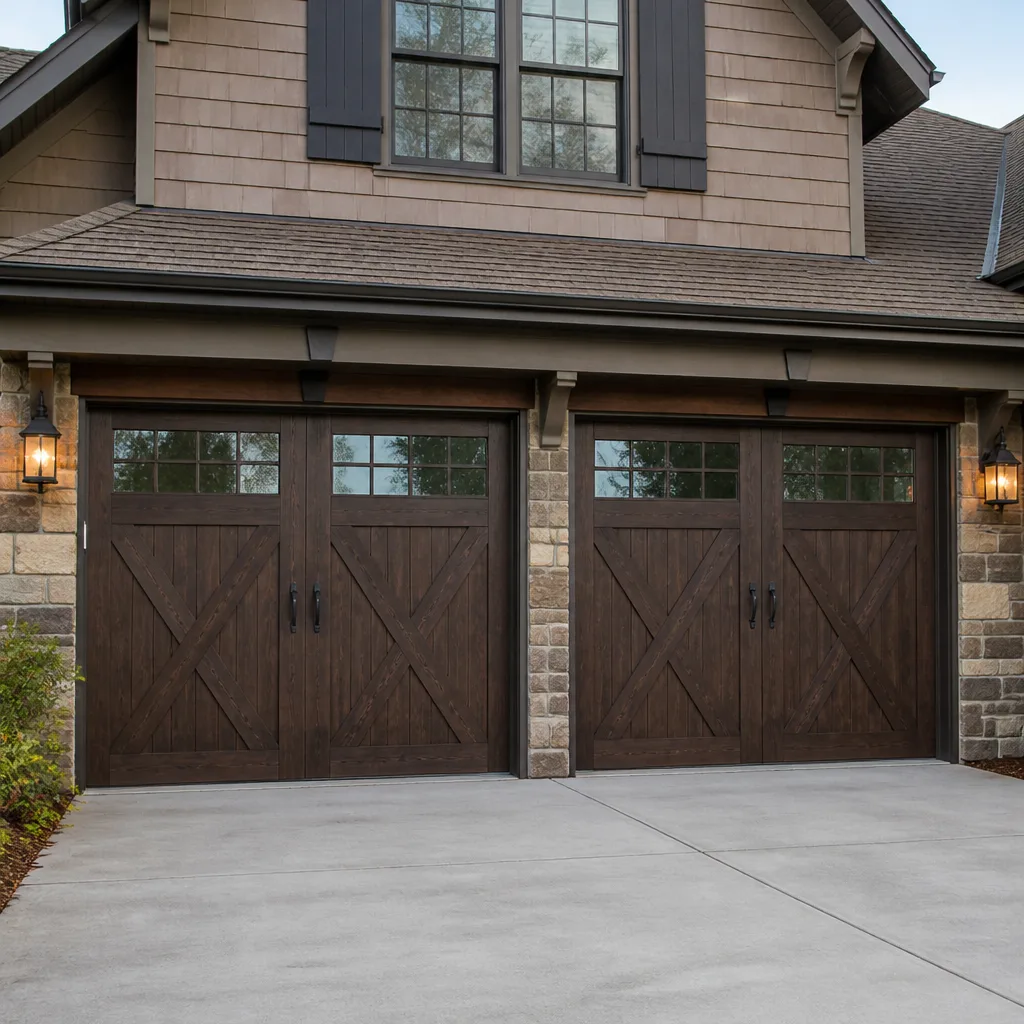 Carriage house
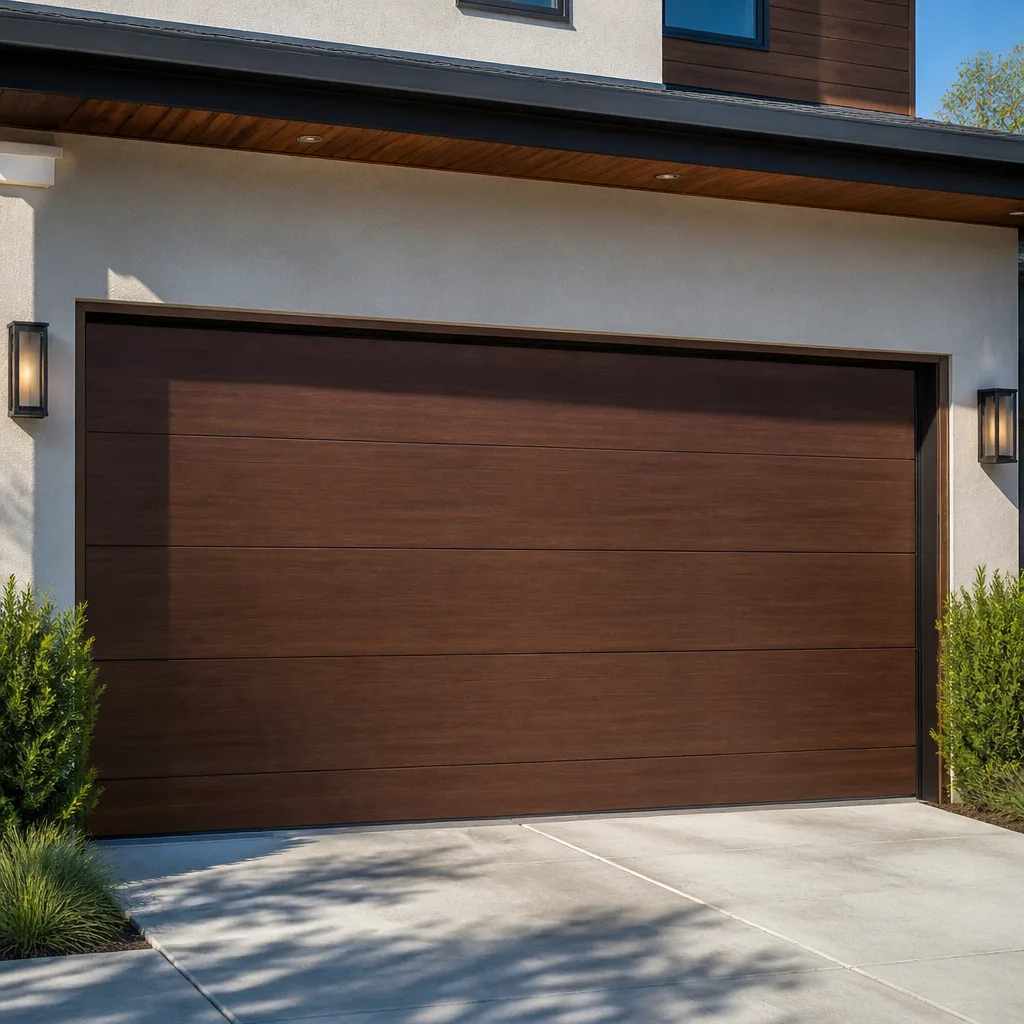 Modern flush
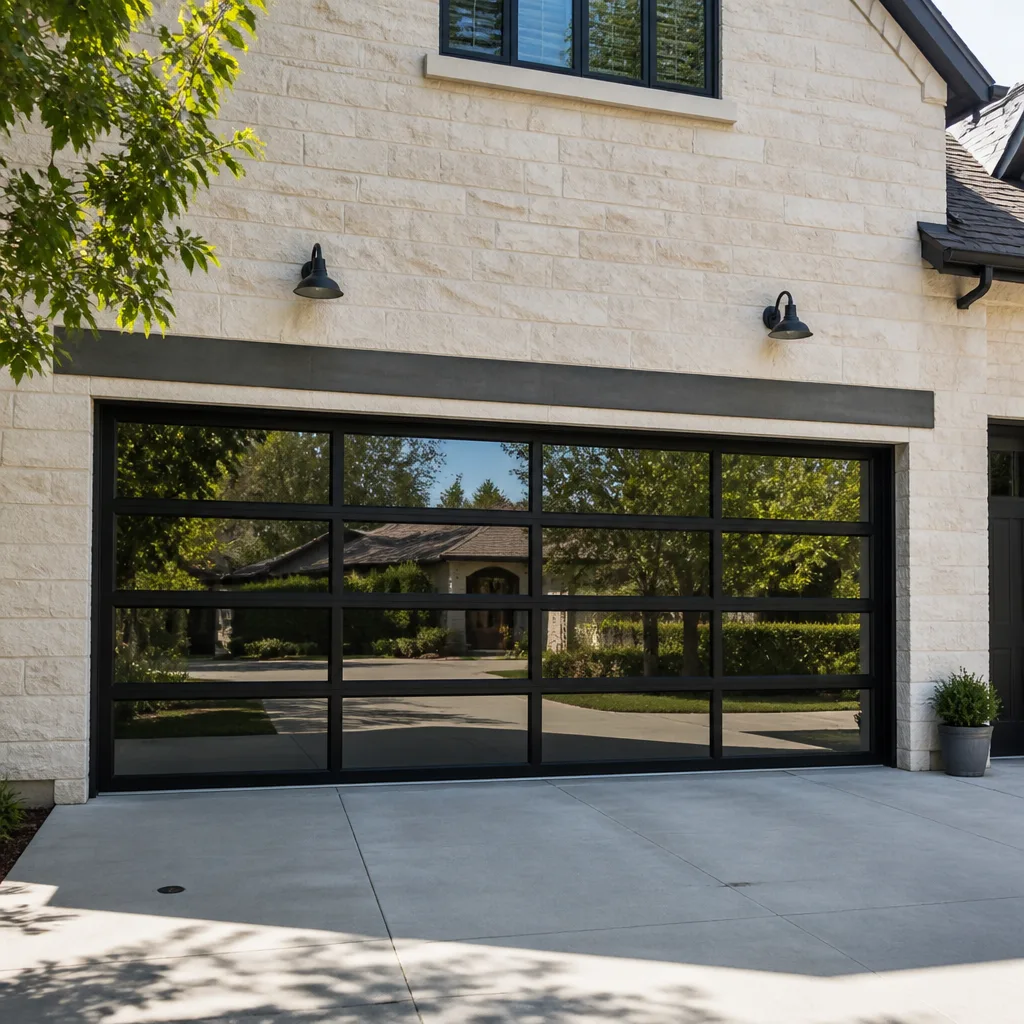 Full-view glass
 LiftMaster openers
 Chamberlain openers
Full 25-point door and opener safety check with every visit - springs, cables, rollers, tracks, and your LiftMaster or Chamberlain opener included
You get a price before we start. It does not change when the pro arrives.
Get your free estimateGarage Door Repair Maintenance Checklist for Northwood Homeowners
Most garage door checklists tell you to lubricate the chain and listen for strange noises. That advice isn’t wrong, but it doesn’t help you predict which part will fail next. In our experience on Northwood service calls, the parts that strand a car or leave a door hanging open almost always gave warning first: a stretched spring, a cable with a few broken strands, a roller worn flat on one side. This guide is different. It’s built around component lifespan and the specific measurements that tell you when something is near the end, so you’re replacing parts on your schedule instead of reacting to a failure on a cold morning. We’ll cover spring life estimation, cable inspection thresholds, seal checks that get overlooked, and a realistic task calendar.
Quick Answer
A solid garage door maintenance checklist for Northwood homeowners has three layers: quarterly safety checks you can do in ten minutes (visual inspection of cables, rollers, and seals), annual lubrication and hardware tightening, and lifespan-based planning for springs, rollers, and openers. Torsion springs typically last 7 to 12 years depending on daily cycles, so estimating cycle life early prevents most emergency calls. Anything involving springs or cables under tension should go to a trained technician, not a DIY project.
Styles & brands we work with
- Raised-panel steel
- Carriage house
- Modern flush
- Full-view glass
- LiftMaster openers
- Chamberlain openers
Table of Contents
- Torsion Spring Cycle Life: How to Estimate When Yours Will Fail
- Cable Fraying: The Exact Threshold That Means Replace Now
- Weatherstripping: Top Seal, Threshold Seal, and What Most Homeowners Miss
- Roller Wear Patterns and the Track Problems They Reveal
- Hardware, Hinges, and Fastener Checks
- Opener Diagnostics: Force Settings, Safety Reverse, and Smart Controllers
- Task-to-Frequency Table for Realistic Planning
- When to Call a Professional
Torsion Spring Cycle Life: How to Estimate When Yours Will Fail
Every torsion spring is rated in cycles, and a cycle is one full open plus one full close. A common residential spring in Northwood is rated somewhere around 10,000 cycles as a standard, with higher-cycle springs available if you ask for them. To estimate remaining life, multiply your daily open-close cycles by 365. A household that opens the door four times a day uses roughly 1,460 cycles a year, so a 10,000-cycle spring gives you close to seven years of service. A household that opens it eight times a day halves that to about three and a half years. Those two doors are physically identical, but their springs live very different lives.
Door weight matters just as much. Springs are sized to the weight of the door they lift, and Northwood homes carry everything from light single-car doors to heavy insulated double doors with glass panels. A spring that’s undersized for the door, or that was sized for the original door before a heavier model replaced it, works harder every cycle and fails early. That’s one reason a proper spring replacement starts with weighing the door, not guessing at a part number.
Warning signs a spring is close to failing
- A gap in the coil. A torsion spring should be tightly wound. A visible gap means the spring has stretched and lost tension.
- Faster-than-usual closing. If the door drops the last foot rather than easing down, the spring is tired.
- A loud bang from the garage. That’s usually a spring breaking, and it happens fast. Once you hear it, stop using the door and call for garage door repair.
- The door won’t lift more than a foot. A broken spring won’t carry the door’s weight, and the opener can’t do it alone.
Springs are under extreme tension. Never try to wind, unwind, or replace one yourself. The stored energy in a wound torsion spring can cause serious injury in a fraction of a second, and it takes proper winding bars and training to handle safely. This is the component where we most often see homeowners attempt a repair and regret it. If your spring looks worn, call a specialist and let them measure and size the replacement correctly.
Cable Fraying: The Exact Threshold That Means Replace Now
Lift cables run from the bottom corners of the door up to the drums at the top. They’re under tension too, and they fail differently than springs: gradually, strand by strand. The threshold is simple and worth remembering: one broken strand on a cable is a warning, two is a near-term replacement, and three or more means stop using the door today. A cable that’s lost three strands has lost a meaningful share of its strength, and the next strand may break while the door is moving.
Cables usually fail at the same places: where they wrap around the drum at the top, and where they attach at the bottom bracket. Run your eyes along the full length of each cable during a quarterly check. Look for:
- Individual broken wires sticking out like a frayed rope end. Count them, don’t just glance.
- Kinks or flat spots where the cable has jumped the drum or been crushed.
- Rusty or discolored sections where the cable has been rubbing against a track or bracket.
- Sagging cables that no longer run straight and taut down the sides of the door.
If you find even one broken strand, have it looked at before the door gets heavy use. Cables are inexpensive compared to the damage a snapped cable causes: the door can drop unevenly, bind in the tracks, or come down hard. In Northwood, where doorways often face driveways with a slope, an uneven drop can also twist the door and bend the panels. Cable inspection is one of the highest-value checks on this entire list, and it takes about two minutes.
Weatherstripping: Top Seal, Threshold Seal, and What Most Homeowners Miss
Most seal checks focus on the side jambs, and that’s a mistake. The two seals that quietly fail in Northwood homes are the top seal and the threshold seal at the floor. The top seal sits behind the header and rarely gets looked at, but once it cracks, wind and water come in over the top of the door, and you may never see the gap from outside. The threshold seal runs along the floor and takes direct wear from the door’s bottom edge. It’s also where water pools after heavy rain.
Top seal inspection
Open the door and look straight up at the header from inside the garage. The top seal should be soft, continuous, and tucked against the door when it’s closed. Look for cracks, dry rot, or sections that have pulled loose from the retainer. A cracked top seal also lets cold air in and warm humid air out in ways you’ll notice on the energy bill before you notice the gap itself.
Threshold seal inspection
With the door closed, crouch down and look at the floor line from inside. Daylight under the door means the seal isn’t making contact. Run your hand along the bottom edge and feel for hard, flattened, or missing sections. A threshold seal that’s torn will let water in and, on a sloped driveway, that water runs toward the garage, not away from it. Check it after any soaking rain.
Side seal inspection
Check the side jambs last, but don’t skip them. Look for gaps where the seal meets the door’s edge, and for sections that have hardened and no longer flex. Side seals are the easiest to replace, but they’re also the easiest to ignore because you see them from the outside where it looks fine.
Seals are one of the cheapest parts of your door to maintain and one of the most noticeable when they fail. If you’re not sure whether your seal is beyond saving, a technician can tell you in a few seconds during an annual visit.
Roller Wear Patterns and the Track Problems They Reveal
Rollers are the small wheels that ride in the tracks, and they wear in specific patterns. Normal wear looks like this: the roller turns freely, the nylon or steel surface is smooth, and the door moves quietly. The roller itself is a wear item and gets replaced periodically, which is expected. What most homeowners miss is that a worn roller can be a symptom of a bent track, not the cause of the noise.
Here’s how to tell the difference. Look at each roller with the door closed. If the roller looks evenly worn and sits centered in the track, the failure is just age. If the roller is worn flat on one side, or if it’s riding against one side of the track and not the other, the track is likely bent or out of alignment. A bent track throws asymmetric load onto the rollers and hinges, which accelerates wear on one side of the door. Replacing rollers on a bent track is a temporary fix; the new rollers will wear the same way.
What to look for in the tracks
- Dents or kinks in the vertical or curved sections, especially near the bottom where a car or lawn tool has bumped them.
- Uneven gaps between the track and the door edge. The door should sit evenly in the tracks on both sides.
- Noise in one spot on the track as the door passes. That’s usually a bend the roller is hitting.
- Rollers that spin freely but the door still binds. That points to a track problem, not a roller problem.
Rollers on a door that gets regular use should be checked every six months. If you hear grinding or squealing, stop and look closely before you keep running the door. A bent track that’s left alone eventually causes the door to come off its tracks, which is a heavier repair than straightening the track early. If you’re seeing this pattern on your door, Garage Door Repair Northwood handles track and roller service regularly, and we can tell you whether the track needs straightening or replacement.
Hardware, Hinges, and Fastener Checks
Hinges, brackets, and the bolts that hold the door together loosen over time because the door vibrates and flexes on every cycle. This is the least glamorous part of maintenance and the one most often skipped. A loose hinge bolt can let a panel shift, which then causes the door to bind, which then adds load to the rollers and opener. Small problems chain together.
Quarterly hardware walkthrough
- Close the door and check every hinge. Wiggle each hinge by hand. Any that moves more than a hair needs tightening.
- Tighten bolts and lag screws. Use the right driver for the fastener. Don’t overtighten, because you can strip the metal or crack a panel.
- Look at the center bearing plate and the end brackets. These carry the torsion shaft and take the most vibration. Loose brackets are a common source of rattle.
- Check the bottom bracket that holds the cable. Do not loosen it. Just look for cracks or movement. If it looks damaged, call a technician.
- Inspect the panels for cracks or separation. A cracked panel changes how the door flexes and can fail later.
A quick hardware walkthrough with a screwdriver takes about fifteen minutes and prevents a surprising number of bigger repairs. If your door is a Wayne Dalton or Amarr model with proprietary hardware, the fasteners and hinge designs differ from generic doors, and we work on those systems specifically, so parts and fit are matched correctly.
Opener Diagnostics: Force Settings, Safety Reverse, and Smart Controllers
The opener is the part of the system most tied to safety, and its diagnostics are worth running monthly. Two tests matter most: the safety reverse test and the force setting check. If the door doesn’t reverse when it meets an obstruction, that’s a safety problem, not a convenience problem, and it should be corrected before the door is used again.
Monthly safety reverse test
- Place a solid object on the floor in the door’s path, something at least a couple of inches tall.
- Close the door with the opener. The door should contact the object and reverse immediately.
- If it doesn’t reverse, stop using the opener until it’s adjusted by a technician.
- Test the photo-eye sensors. Wave an object in front of each sensor while the door is closing. The door should reverse.
Force setting check
Openers have a force setting that controls how hard the motor pushes. If the setting is too high, the door can crush an object or a person before reversing. If it’s too low, the door stops and reverses on its own for no obvious reason. Most modern openers, including LiftMaster, Chamberlain, Genie, and Craftsman units, have a force adjustment on the motor head, but the right setting depends on the door’s balance. A door that’s out of balance will trigger the force limit even at a correct setting, which is why balance and force go together. A trained technician should make force adjustments, because the setting interacts with the door’s weight and the safety reverse feature.
Smart controllers and connected systems
If you have a connected opener with an app, use it as a diagnostic tool. Most apps log when the door reverses unexpectedly or when the motor draws more current than usual. Those logs are early warning signs that the door is binding, the springs are tired, or the opener is working harder than it should. For more on opener-specific diagnostics and repairs, see our page on garage door opener repair.
Task-to-Frequency Table for Realistic Planning
This is the part most checklists get wrong. They list everything as if you have a full afternoon every month, and homeowners stop following them after the second month. Here’s a schedule with honest time estimates, organized by how often each task actually needs to happen.
- Monthly (about 5 minutes): Safety reverse test and photo-eye test.
- Quarterly (about 20 minutes): Cable strand inspection, hardware tightening walkthrough, roller check, seal inspection at the top and threshold.
- Every 6 months (about 30 minutes): Lubricate hinges, rollers, and the torsion shaft bearings with a proper garage door lubricant. Don’t lubricate the tracks. They’re meant to be dry.
- Annually (about 1 hour, or a technician visit): Full balance test, spring inspection and cycle estimation, opener force check, weatherstripping replacement if needed.
- Every 7 to 12 years (planned): Spring replacement based on cycle life. See the spring section above for the math.
- Every 5 to 10 years (planned): Roller replacement as part of normal wear. Openers typically last 10 to 15 years and should be replaced when repair costs approach replacement costs.
The point of this table is to help you plan. A spring is a wear item with a predictable lifespan, and if you know your door’s daily cycles and rough cycle rating, you can budget for replacement before it strands you. The same goes for the opener. When you know a component is near the end of its life, a routine replacement becomes a scheduled project rather than an urgent call. For a full replacement assessment, our team handles garage door installation and can advise on whether a repair or a new door is the better plan.
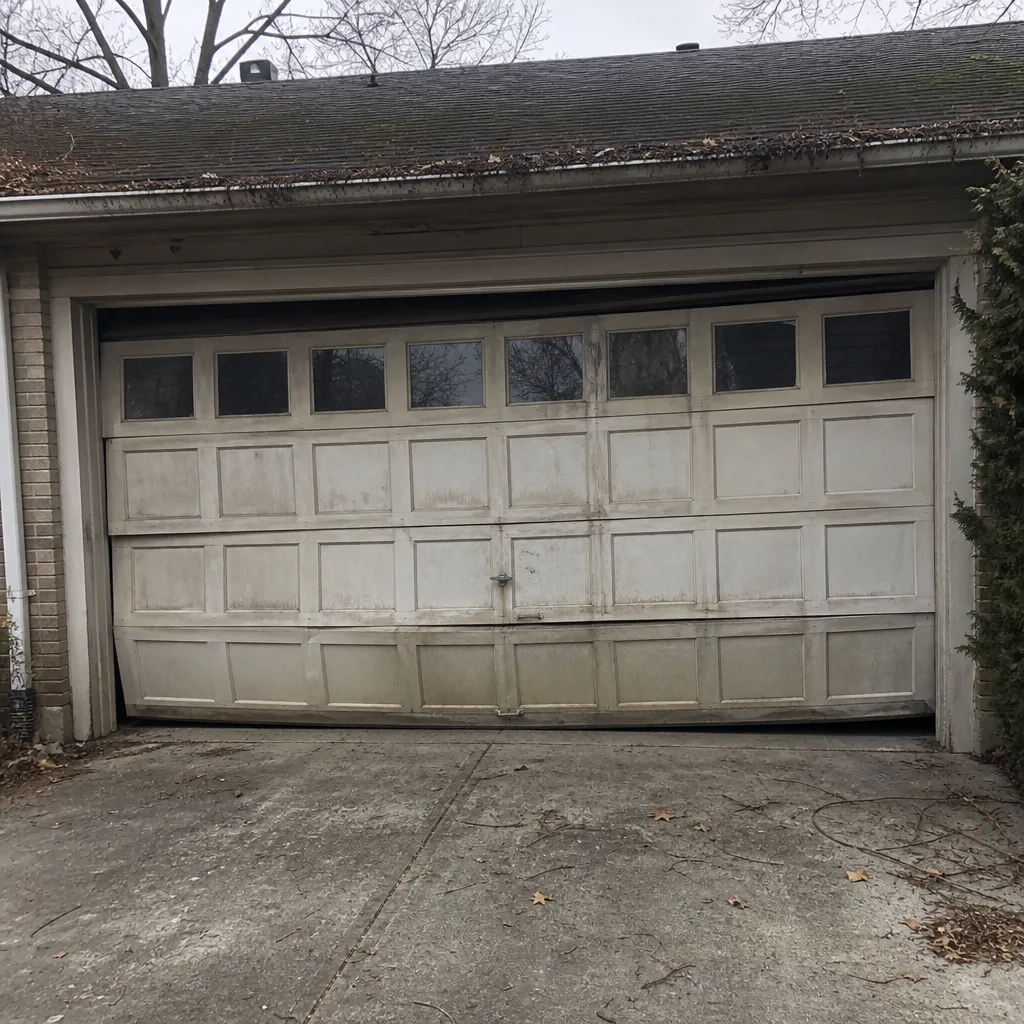
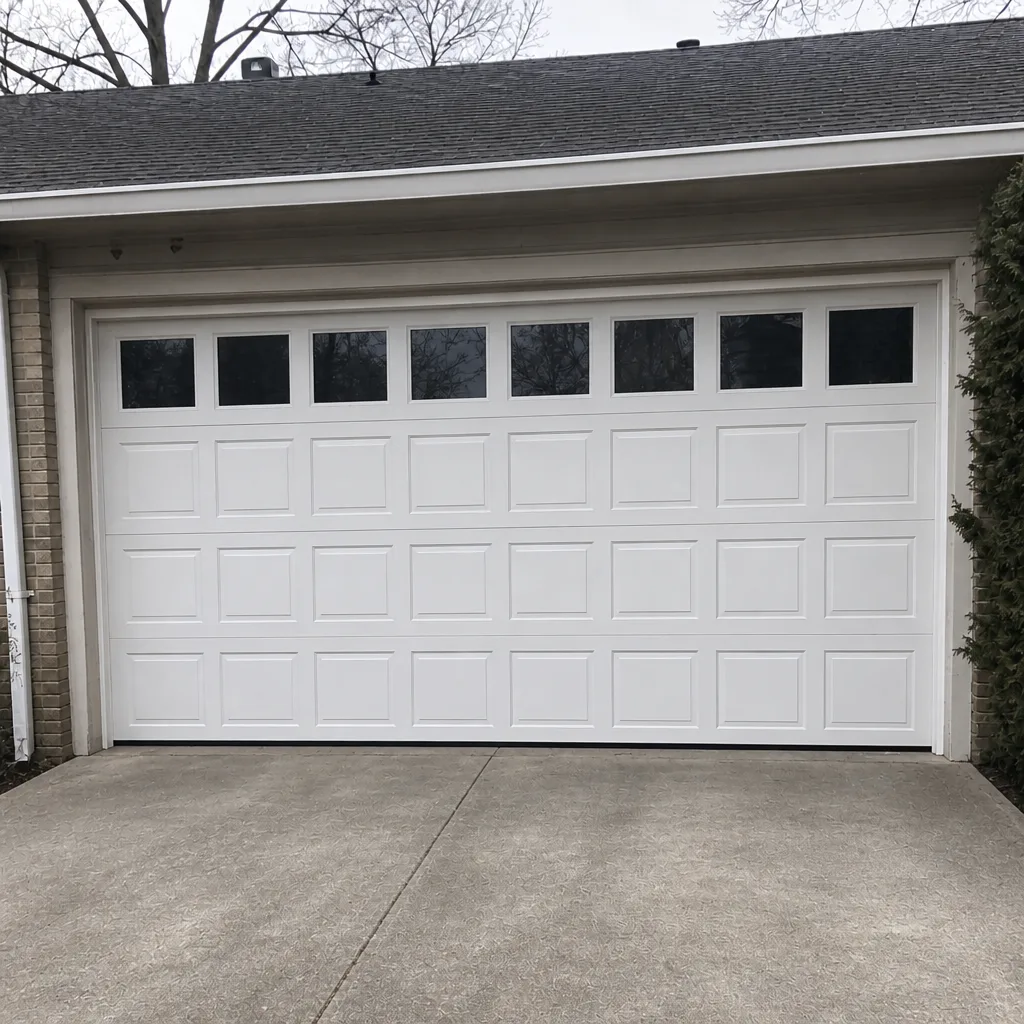
See the difference
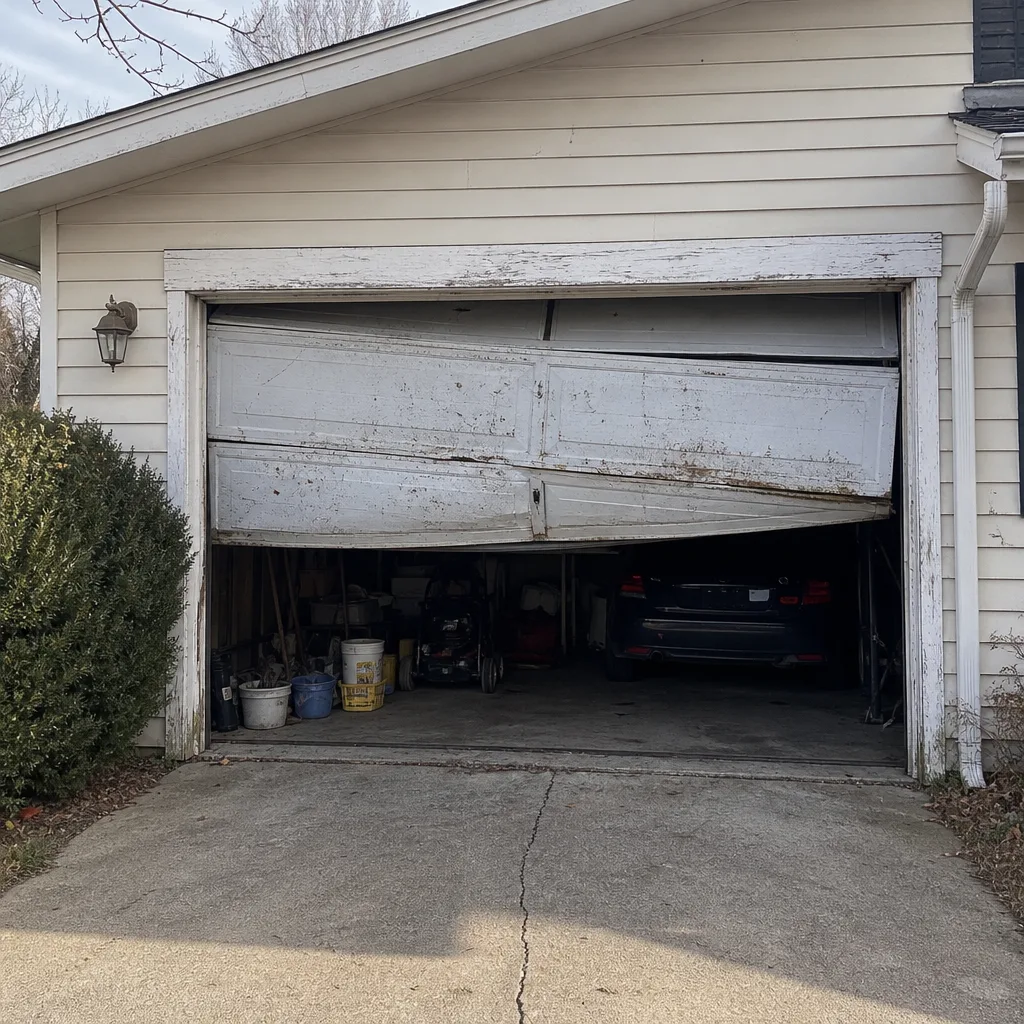 Before
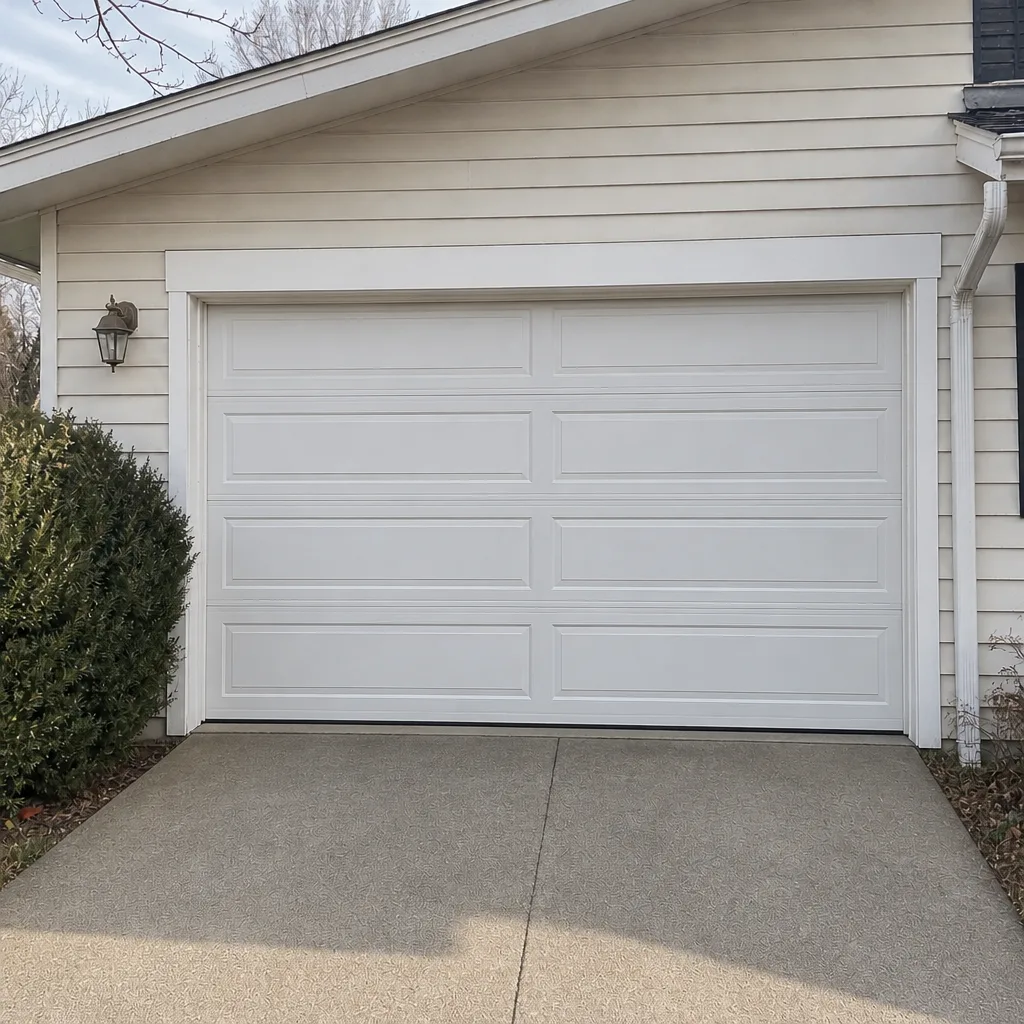 After
 Before
 After
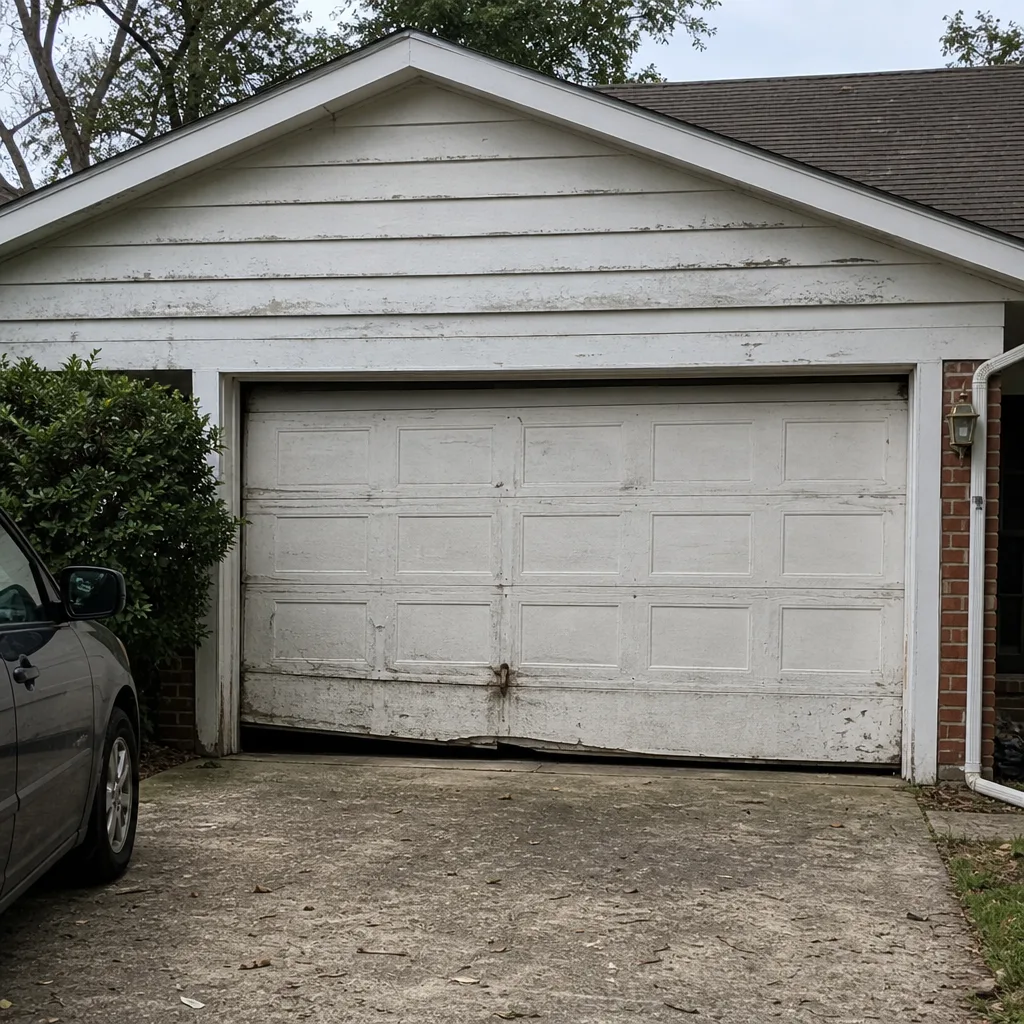 Before
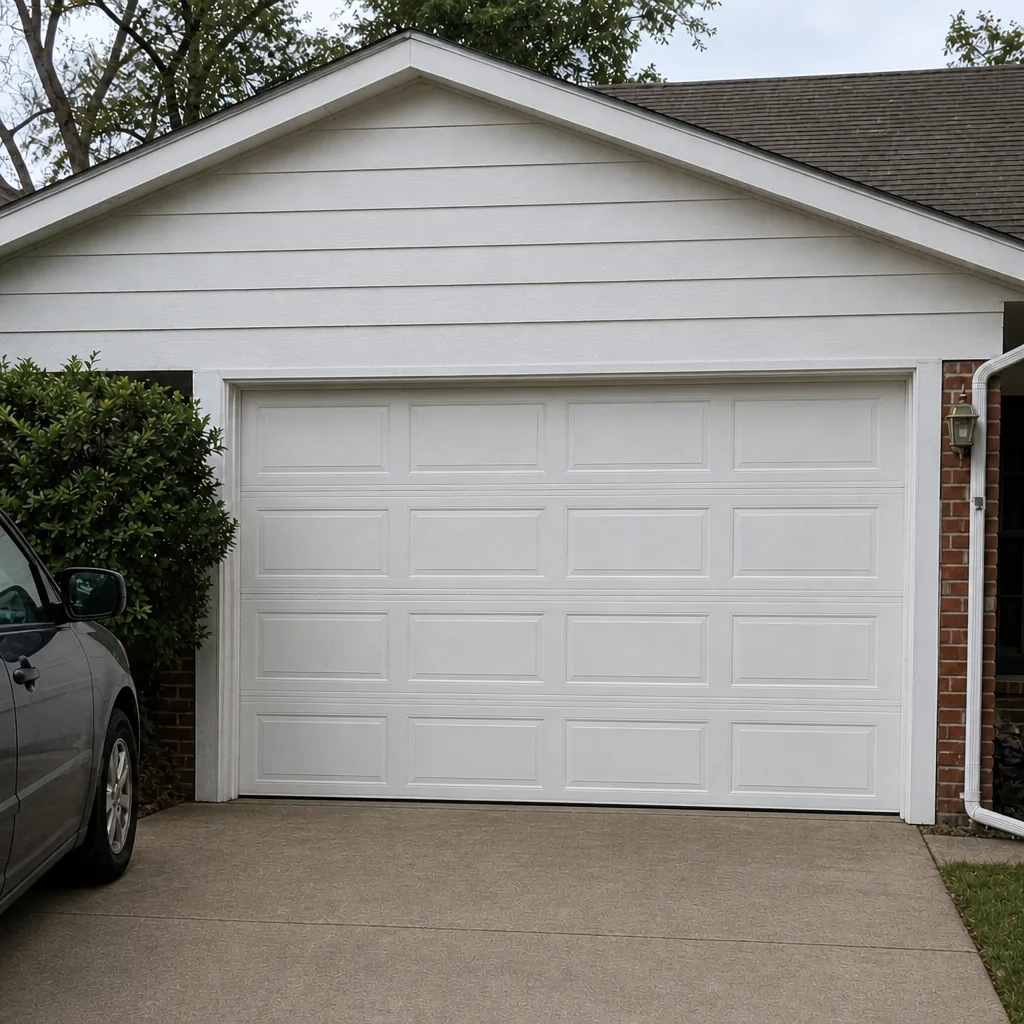 After
Common Mistakes to Avoid
- Lubricating the tracks. Tracks are meant to stay dry. Lubricant collects dust and grit, which then grinds into the rollers. Clean the tracks with a dry cloth instead.
- Ignoring one broken cable strand. One strand can progress to three within weeks under regular use. Have it looked at at the first sign, not the third.
- Replacing a spring without checking the other one. Springs on a two-spring door are usually replaced as a matched pair, because they’ve lived the same cycles. Replacing one alone leaves you back on the phone within a year.
- Forcing an opener to lift a door with a broken spring. The opener isn’t built to lift the door’s weight alone. Running it will burn out the motor and can damage the door.
- Skipping the top seal. Homeowners check the sides and the bottom, then miss the top seal behind the header, where leaks begin. Look up from inside the garage once a season.
- Adjusting the force setting to “fix” a door that’s out of balance. Turning up the force hides the symptom and defeats the safety reverse feature. Fix the balance first.
- Using a general handyman for spring work. Springs and cables are the two parts of this system where specialist training matters most. Use a garage door specialist, not a generalist.
Each of these mistakes is easy to make and easy to avoid once you know what to look for. In Northwood, where many homes have older doors with original hardware, we see more of these than you’d expect.
When to Call a Professional
Some tasks are yours to do. Others need a trained technician, and knowing the difference is what keeps your door safe and your repair costs down. Call a professional when you find a broken spring, any cable with three or more broken strands, a door that’s off its tracks, a bent track that’s throwing the door out of alignment, a safety reverse that won’t work, or a bottom bracket that looks cracked. Also call if your door is a Raynor or a similar brand with proprietary hardware that needs a matched part, or if you can’t identify the source of a new noise. Our technicians have up to 9 years of experience, and we handle spring repair, cable replacement, track work, opener repair, and full installation. Garage Door Repair Northwood offers free estimates in Northwood. Call (877) 492-1668 to schedule a visit, and we’ll give you a written price before any work starts.
Frequently Asked Questions
A garage door should get a basic safety check monthly, a hardware and cable inspection quarterly, and a full professional service annually. The annual service includes balance testing, spring inspection, opener force check, and a look at the seals. Doors on homes with heavy daily use benefit from a professional check every six months.
Look for a visible gap in the coil, faster-than-usual closing, or a door that won’t lift more than a foot. A spring that has stretched and lost tension is close to failure. If you see any of these signs, stop using the door and call for service. Replacement is straightforward for a trained technician and dangerous to attempt alone.
No, but it’s a prompt call. One broken strand means the cable has started to fail, and it can progress to three strands within weeks of regular use. Three or more broken strands means stop using the door today. Have any broken strand inspected and the cable replaced before the door gets heavy use.
No. Torsion springs store enough energy to cause serious injury in a fraction of a second, and the correct replacement depends on the door’s weight and cycle rating. This is the one part of garage door maintenance that should always go to a trained technician. A proper spring replacement starts with weighing the door and sizing the spring correctly.
Normal roller wear is even, and the roller turns freely while sitting centered in the track. A bent track shows up as rollers worn flat on one side, rollers riding against one side of the track, or noise in one spot as the door passes. If you see that pattern, the track needs straightening or replacement, not just new rollers.
Repair if the opener is under 10 years old and the problem is a single component such as a gear, logic board, or safety sensor. Replace if it’s over 10 to 15 years old, if the motor is failing, or if repair costs approach replacement costs. A connected opener with logging features can also help you spot problems early, which can change the math.
The Bottom Line
The best garage door maintenance checklist isn’t the longest one. It’s the one that tells you which measurements actually predict a failure. Check your cables for broken strands quarterly, learn your door’s cycle math to estimate spring life, look up at the top seal instead of only the sides, and watch roller wear for signs of a bent track. Run the safety reverse test monthly and a full hardware walkthrough every few months. Do that, and the parts that fail will fail on your schedule, not in the middle of a morning when you need to leave. If something looks beyond your comfort zone, call a specialist early.
If you’d rather have a specialist look it over, or you’ve found something on this checklist that needs attention, call Garage Door Repair Northwood at (877) 492-1668 for a free estimate. We work on LiftMaster, Chamberlain, Genie, Clopay, Amarr, Wayne Dalton, Craftsman, and Raynor systems specifically, and we’ll give you a written price before any work starts.
Written by the team at Garage Door Repair Northwood.